
Sunday, August 29, 2010
Sunday, August 22, 2010
The Week in knit 13: Afterthought heels
Greetings readers! This week I bring you a review of a technique I tried on my latest pair of socks.
Afterthought heels are great if you are working with a self-striping yarn and don't want to get out of synch when you do your heel.
What you do is knit your socks as normal, but instead of doing a heel flap, you knit half your stitches onto waste yarn, and then knit them again with your regular yarn. This keeps them ready to be picked up later.
When you're done your sock will look like this (except probably right side out. I knit everything inside out).
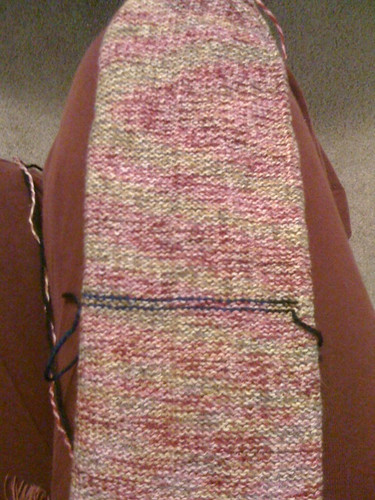
Very carefully pull out your waste yarn and pick your stitches back up on either DPNs or Circulars, whatever your preference.

Next, work the heel just like a toe, decreasing until you get down to your preferred number of stitches (I did 14). And then kitchener them to close them up.

When you're finished it will look something like this (except less yellow. stupid lighting):
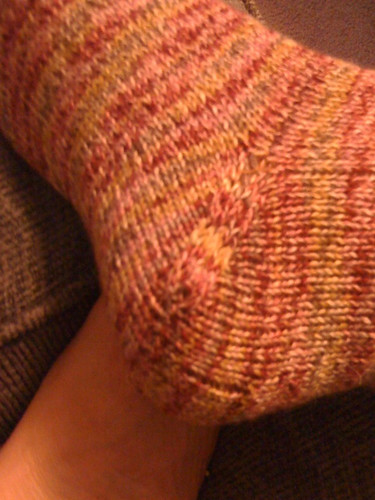
Tada. Finished sock. While I hate doing heel flaps (and love to kirchener) I'm not sure the afterthought heel is much of an improvement over the traditional heel. For one thing, I hate picking up stitches and weaving in ends, and with this technique you have to do more of both! But, it is definitely something to consider for those self striping or self patterning sock yarns. It does make for a nice comfy and attractive finished object though!
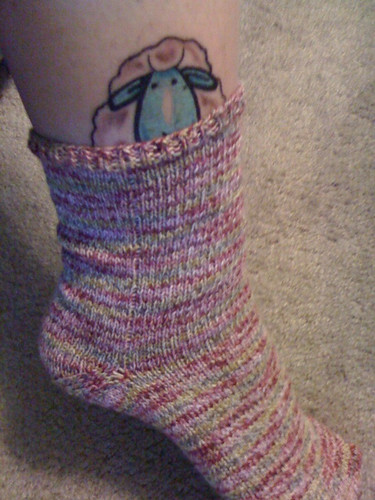
Ooh what's that?

Oh hello! That's my new tattoo :) I got him yesterday. Isn't he cute!!
Afterthought heels are great if you are working with a self-striping yarn and don't want to get out of synch when you do your heel.
What you do is knit your socks as normal, but instead of doing a heel flap, you knit half your stitches onto waste yarn, and then knit them again with your regular yarn. This keeps them ready to be picked up later.
When you're done your sock will look like this (except probably right side out. I knit everything inside out).

Very carefully pull out your waste yarn and pick your stitches back up on either DPNs or Circulars, whatever your preference.

Next, work the heel just like a toe, decreasing until you get down to your preferred number of stitches (I did 14). And then kitchener them to close them up.

When you're finished it will look something like this (except less yellow. stupid lighting):

Tada. Finished sock. While I hate doing heel flaps (and love to kirchener) I'm not sure the afterthought heel is much of an improvement over the traditional heel. For one thing, I hate picking up stitches and weaving in ends, and with this technique you have to do more of both! But, it is definitely something to consider for those self striping or self patterning sock yarns. It does make for a nice comfy and attractive finished object though!

Ooh what's that?

Oh hello! That's my new tattoo :) I got him yesterday. Isn't he cute!!
Sunday, August 1, 2010
The Week in knit 12: Nana Sadie Rose!
So, as you may have noticed I took a little bit of a break there. I've decided not to try to blog every single week, but instead to post when I do have something to say. And boy do I today!
Many local (and even not-so-local) knitters are familiar with Nana Sadie Rose. She has always been known for lovely, high quality bags. I received one last year as a wedding/birthday present. (sorry for the bad lighting, it's cloudy here today)
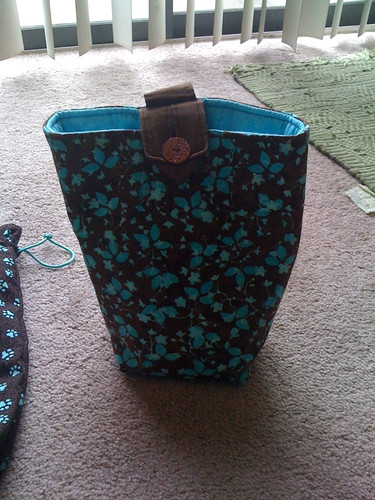
Unfortunately, the bags normally have a one-button closure, which is not Tripsie Proof.
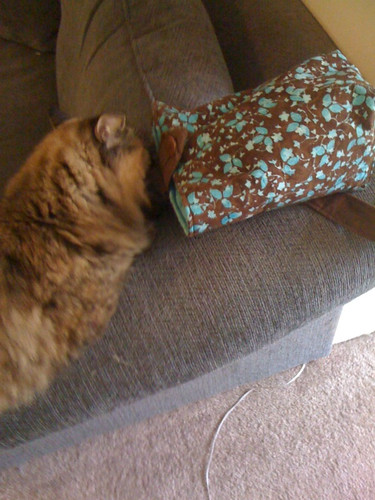
(she wasn't a willing model, she'd just been sprayed with water earlier for trying to eat yarn on the table)
So when I saw this post on Nana Sadie's blog, I was VERY excited.
I left a comment saying how much I love her bags but need the ability to close things more securely (and also how much I loved the fabric). A paypal transaction and a few days later, I have this.
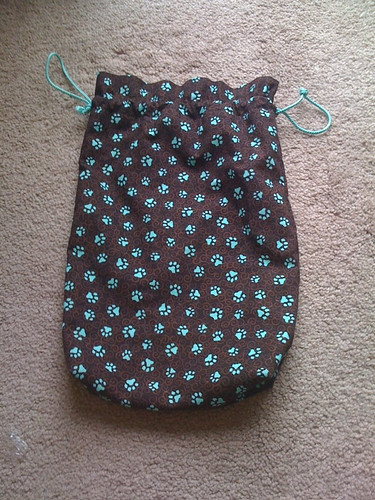
I love it. It's much bigger than I had thought.
I'm used to sock project bags, but this is big enough for a shawl or possibly even a baby blanket or sweater or two smaller projects.
 The drawstrings are high quality and as you can see, the inside is lined in a beautiful corresponding color.

So, whether you need drawstring closure or can enjoy other styles, make sure you check out Nana Sadie's Etsy Shop, or her main website where you can basically build your own bag.
Thanks again Nana Sadie!
Many local (and even not-so-local) knitters are familiar with Nana Sadie Rose. She has always been known for lovely, high quality bags. I received one last year as a wedding/birthday present. (sorry for the bad lighting, it's cloudy here today)

Unfortunately, the bags normally have a one-button closure, which is not Tripsie Proof.

(she wasn't a willing model, she'd just been sprayed with water earlier for trying to eat yarn on the table)
So when I saw this post on Nana Sadie's blog, I was VERY excited.
I left a comment saying how much I love her bags but need the ability to close things more securely (and also how much I loved the fabric). A paypal transaction and a few days later, I have this.

I love it. It's much bigger than I had thought.
I'm used to sock project bags, but this is big enough for a shawl or possibly even a baby blanket or sweater or two smaller projects.
 The drawstrings are high quality and as you can see, the inside is lined in a beautiful corresponding color.
So, whether you need drawstring closure or can enjoy other styles, make sure you check out Nana Sadie's Etsy Shop, or her main website where you can basically build your own bag.
Thanks again Nana Sadie!
Subscribe to:
Comments (Atom)